How to install Xpenology on an old computer or DIY?
Preface
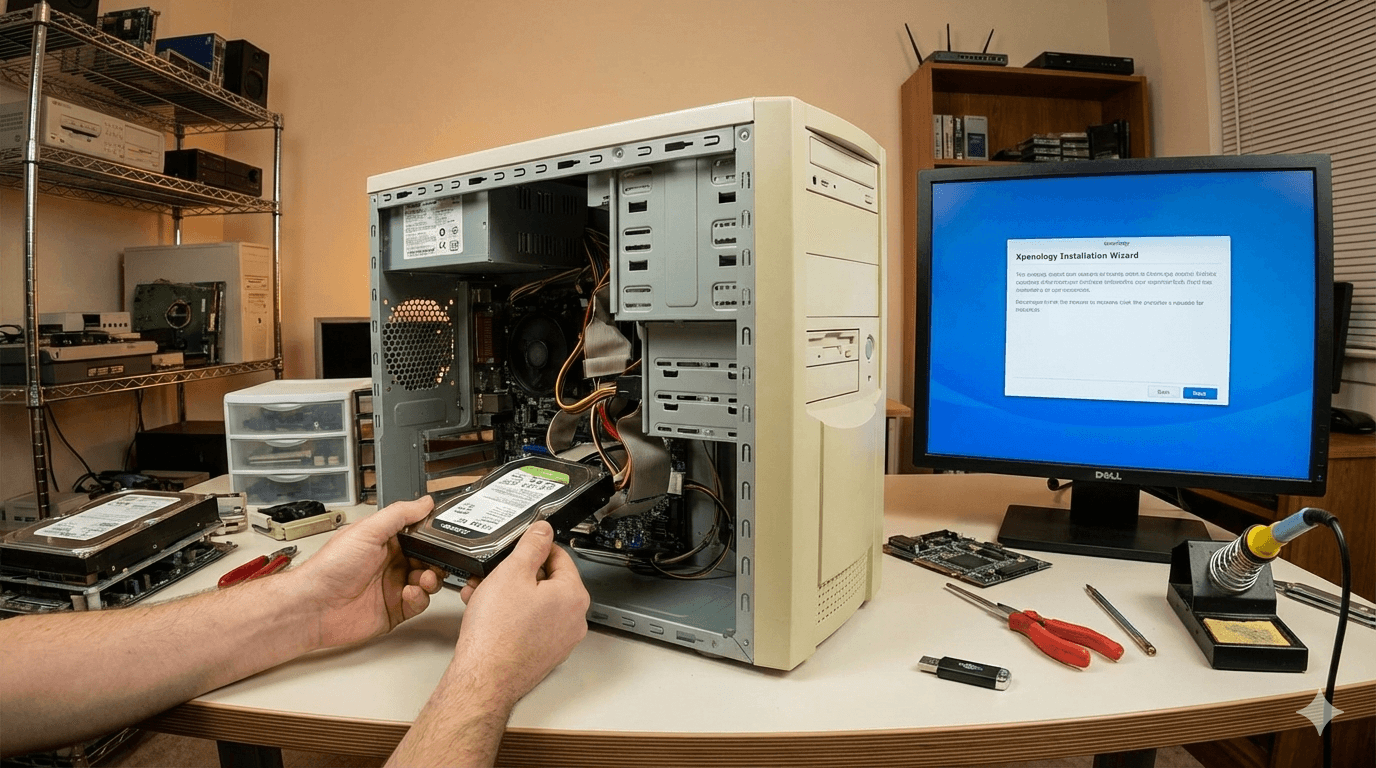
I am an electronics enthusiast, with six computers, multiple NAS devices, and a DELL server at home. However, I still enthusiastically buy second-hand components to assemble computers. If you also have old computers at home or have a need for a NAS, I hope this article will be helpful to you. This article will provide a detailed guide on the complete process of installing Xpenology, from preparation to system configuration, helping you turn idle hardware into a powerful NAS server.- USB flash drive with a capacity of over 8GB (for creating a bootable disk)
- Rufus software
- RR Image(Xpenology Image)
2, 3 You can download it from the official website(Rufus and RR)
1. Create a DM image boot disk
First, we need to create a bootable USB drive. Prepare a USB drive with more than 8GB of storage, insert it into the computer, and open the Rufus software. At this point, you will see that Rufus has already recognized the USB drive. Follow the steps in the diagram below to complete the creation of the bootable drive.
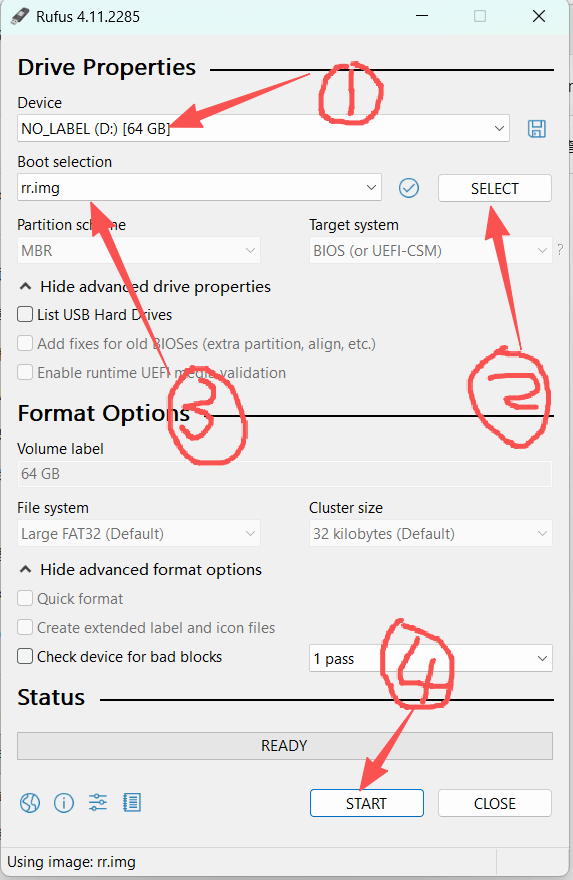
Note: Be sure to back up the data on the USB drive, as it will be formatted. The USB drive will remain plugged into the machine as a boot drive. Of course, if your device has a built-in boot drive, you don’t need to keep it plugged in all the time (for example, the NASBoost N41 comes with a built-in 64GB eMMC).
After the creation is complete, remove the USB drive.
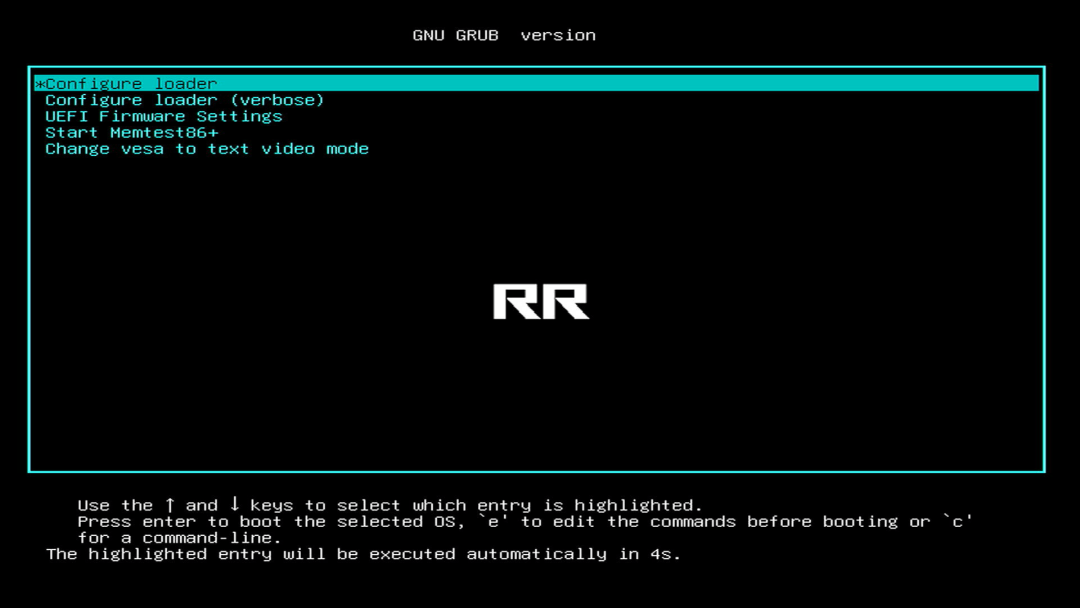
2. Adjust the startup sequence of the equipment
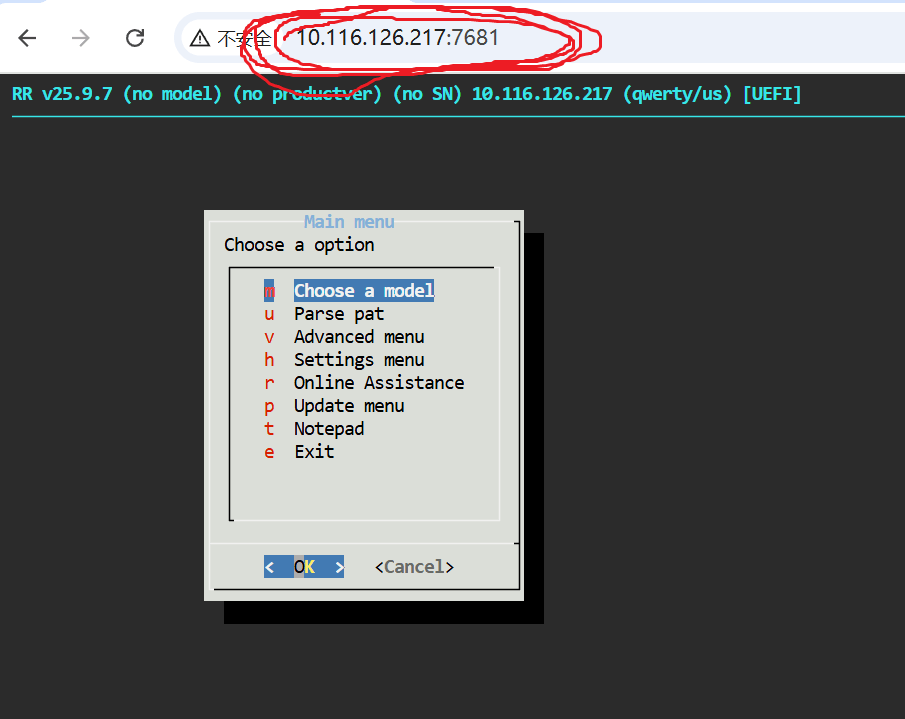
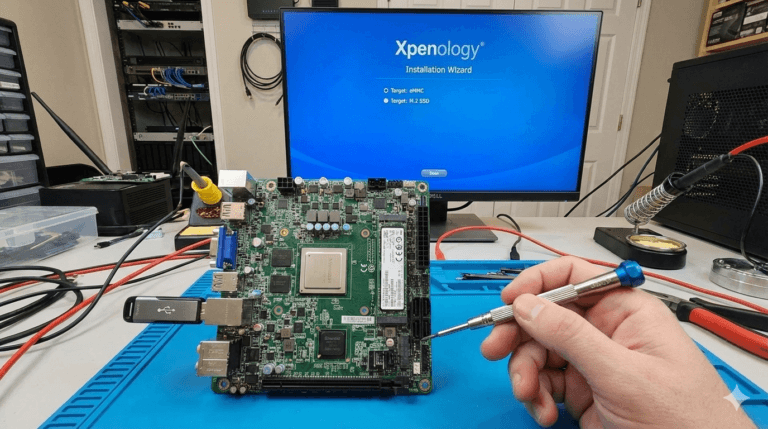
Keep pressing the DEL or F2 key on the keyboard when turning on the computer (the method to enter BIOS varies for different machines) to enter the BIOS, and set the boot order to have USB as the first option. Restart the computer and wait to enter the following interface.
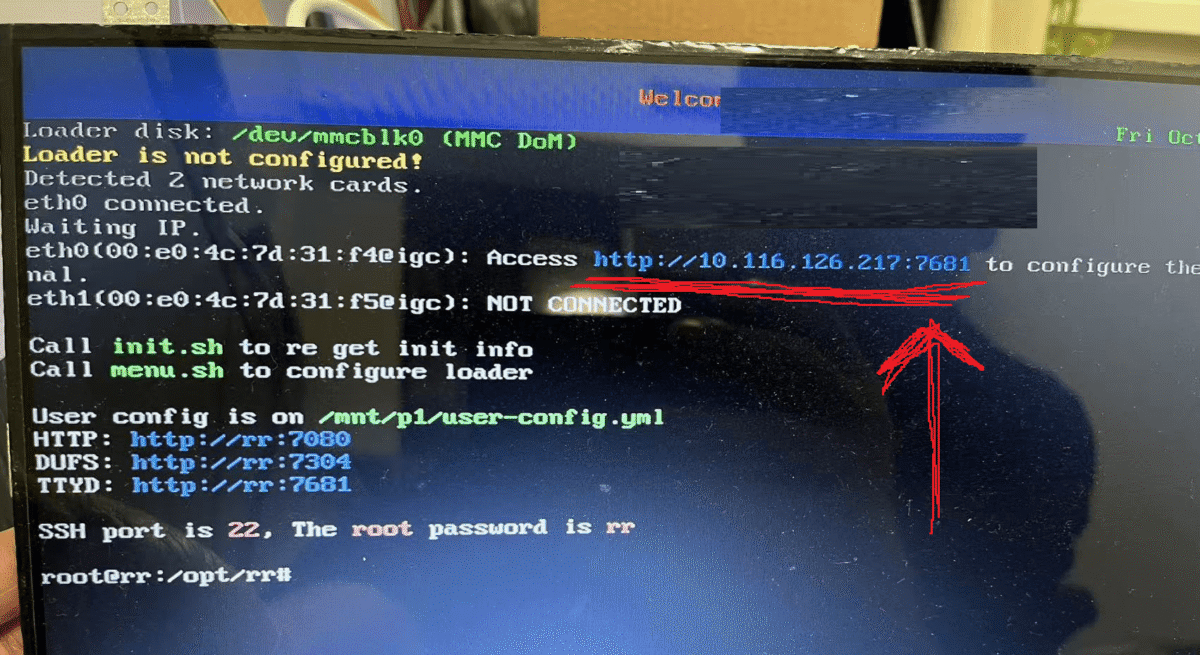
Remember the link in the above image http://xxxx:7681, next we can install the system.
Note: The device must be connected to the local area network; otherwise, the device won’t be able to obtain an IP, and we won’t be able to proceed.
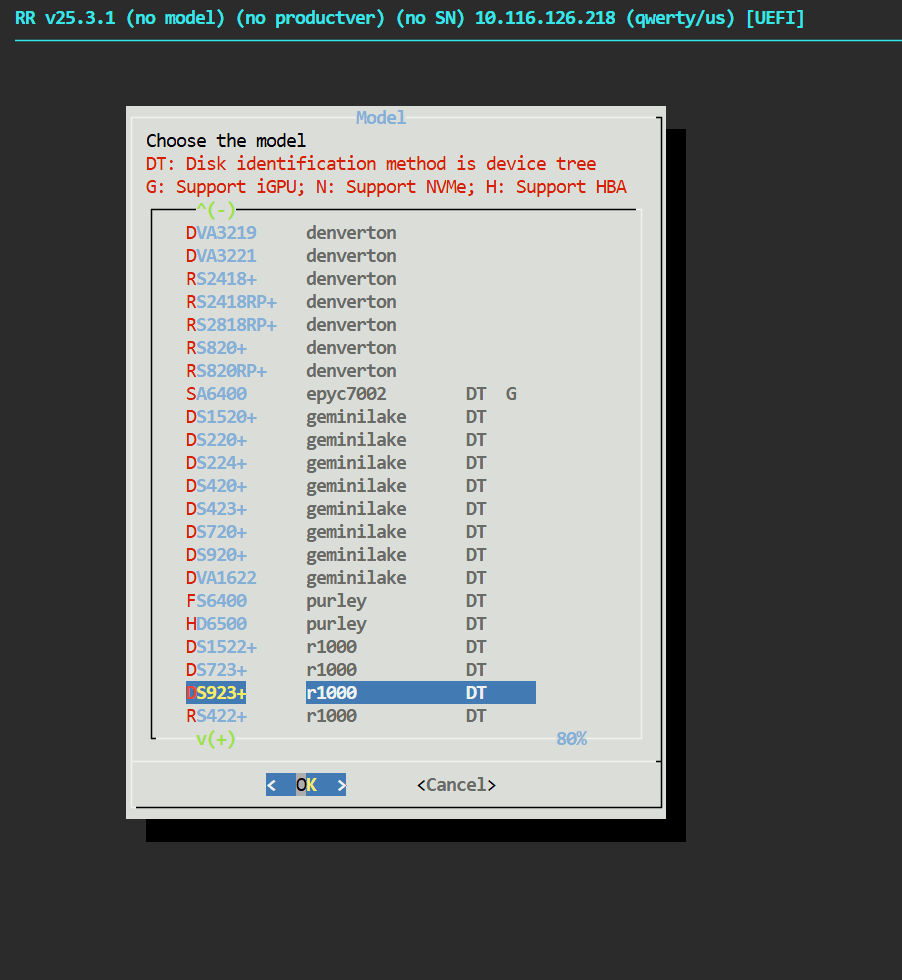
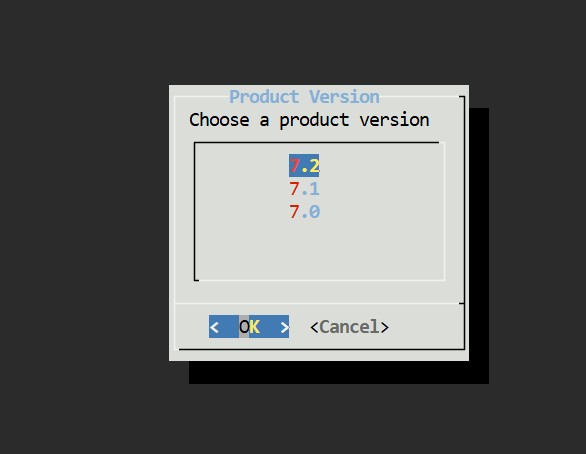
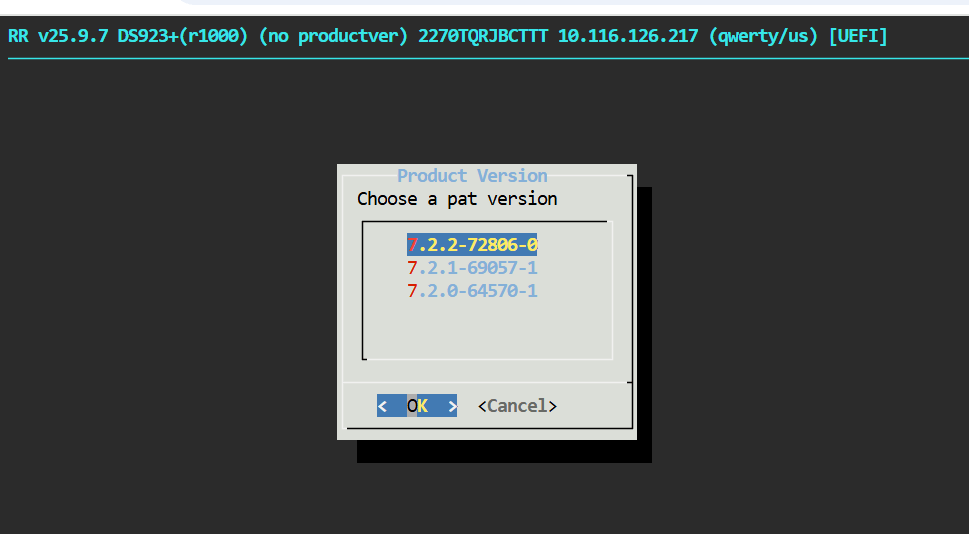
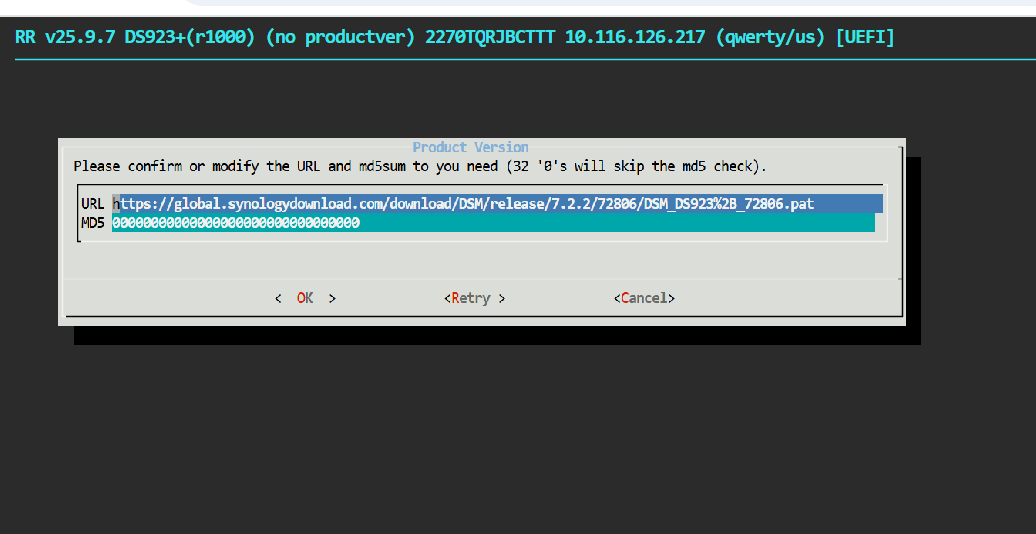
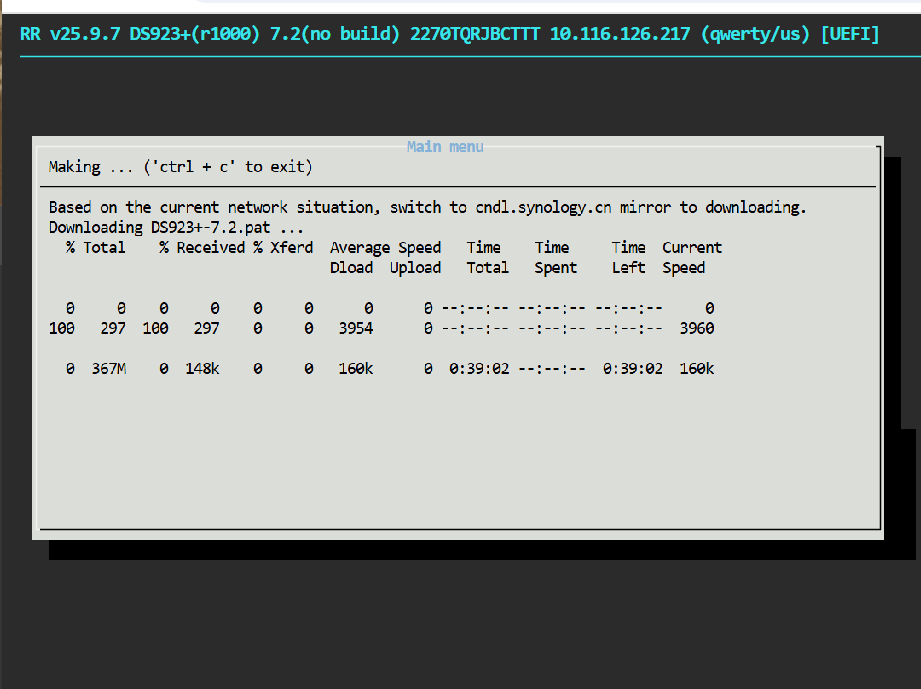
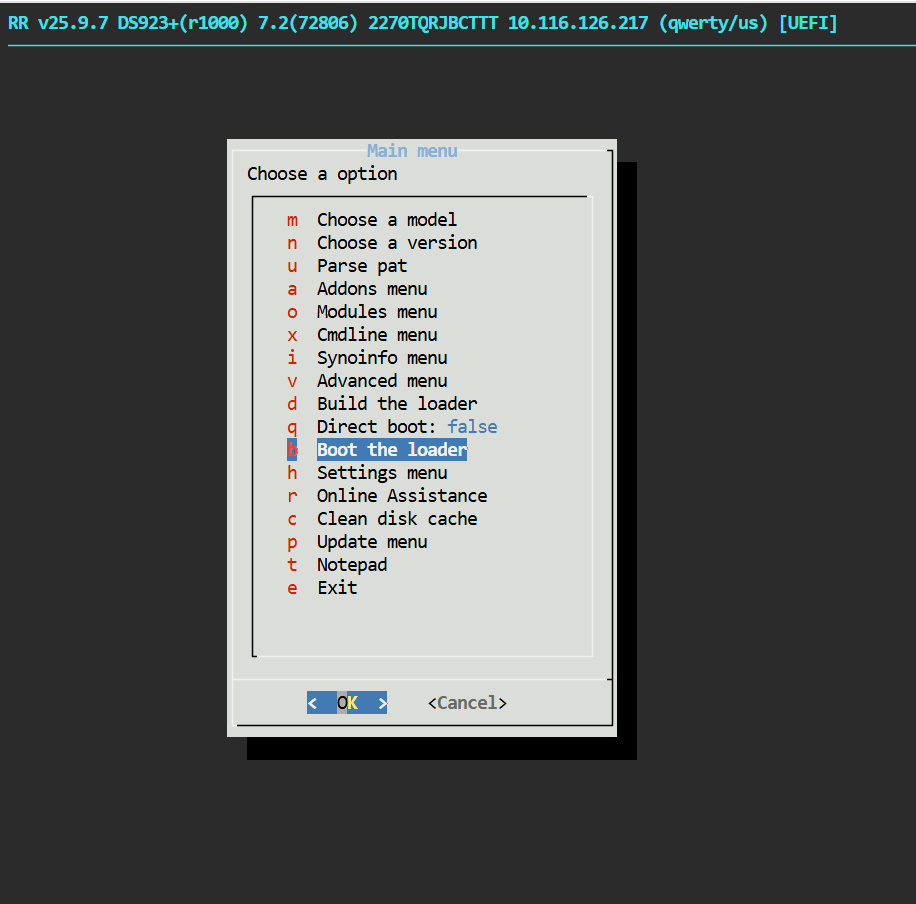
3. Installing a Dark Xpenology System
Now, open the link above in your browser on your computer and complete the following steps.

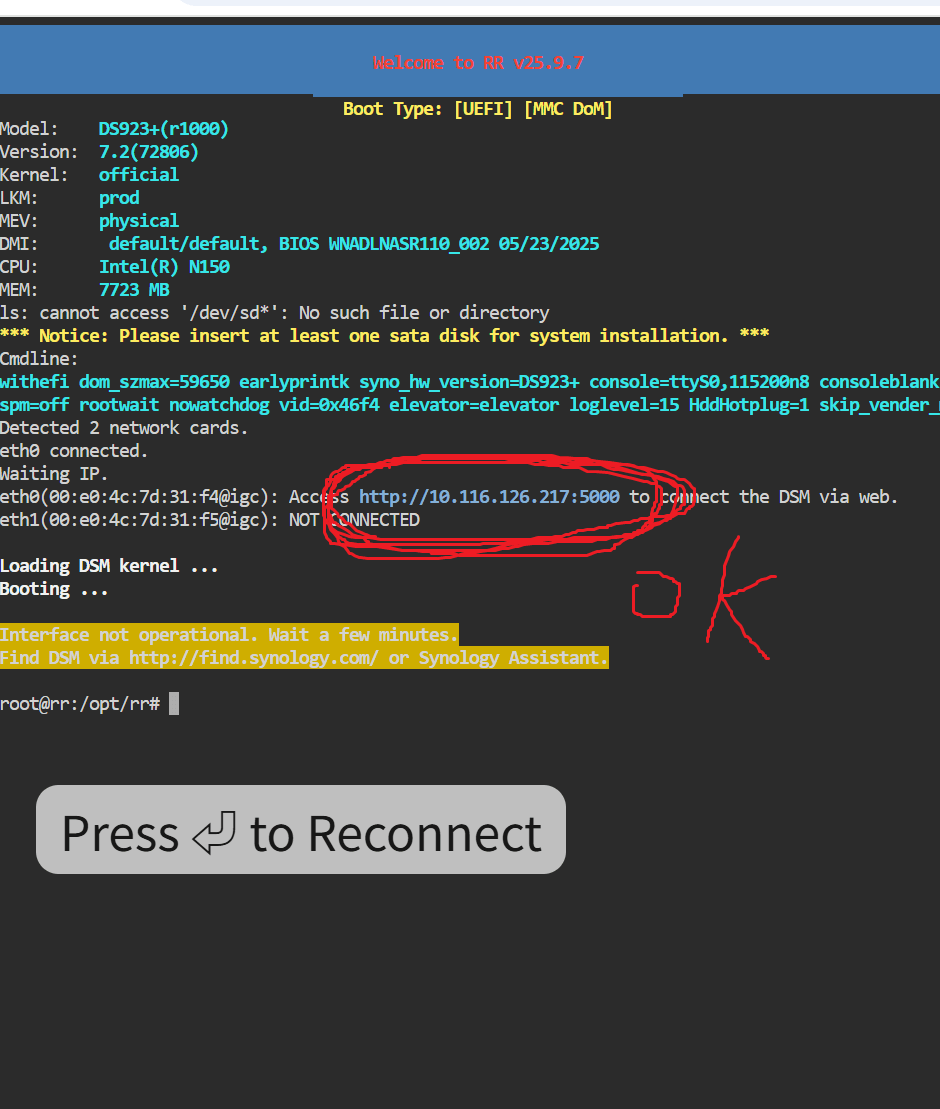
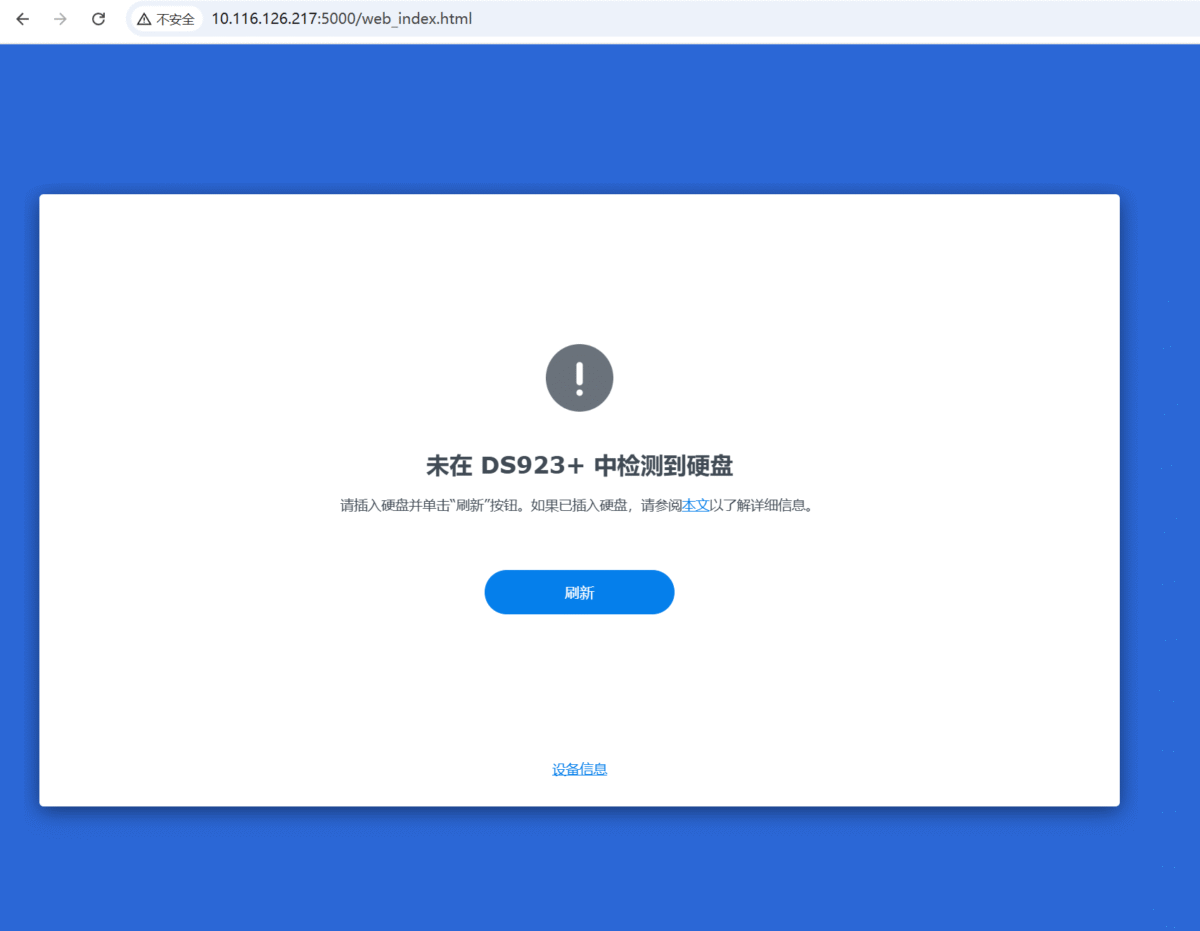
4.Check if the installation was successful.
We can open the link above, http://xxxx:5000, and see that we have successfully entered the system. Of course, my machine doesn’t have a hard drive; the system requires at least one hard drive to run.
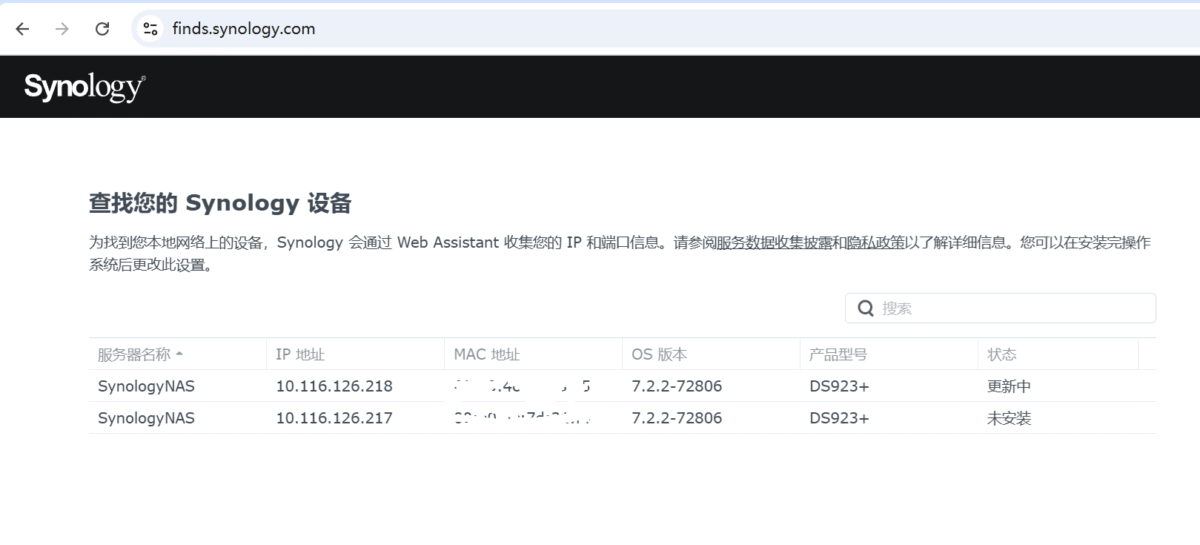
TIPS: How to find your NAS
- Use Synology Assistant
- Webpage input https://finds.synology.com

Regards for this howling post, I am glad I discovered this web site on yahoo.
Thank you for your comment. I’m very happy. If you found this article helpful, please share it with more friends.😃
I like what you guys are up also. Such intelligent work and reporting! Keep up the superb works guys I’ve incorporated you guys to my blogroll. I think it’ll improve the value of my website 🙂
I’m so happy. Wishing you a happy life